Radio Cooler
Wednesday, Mar 20, 2019
Tags: project, radiocooler
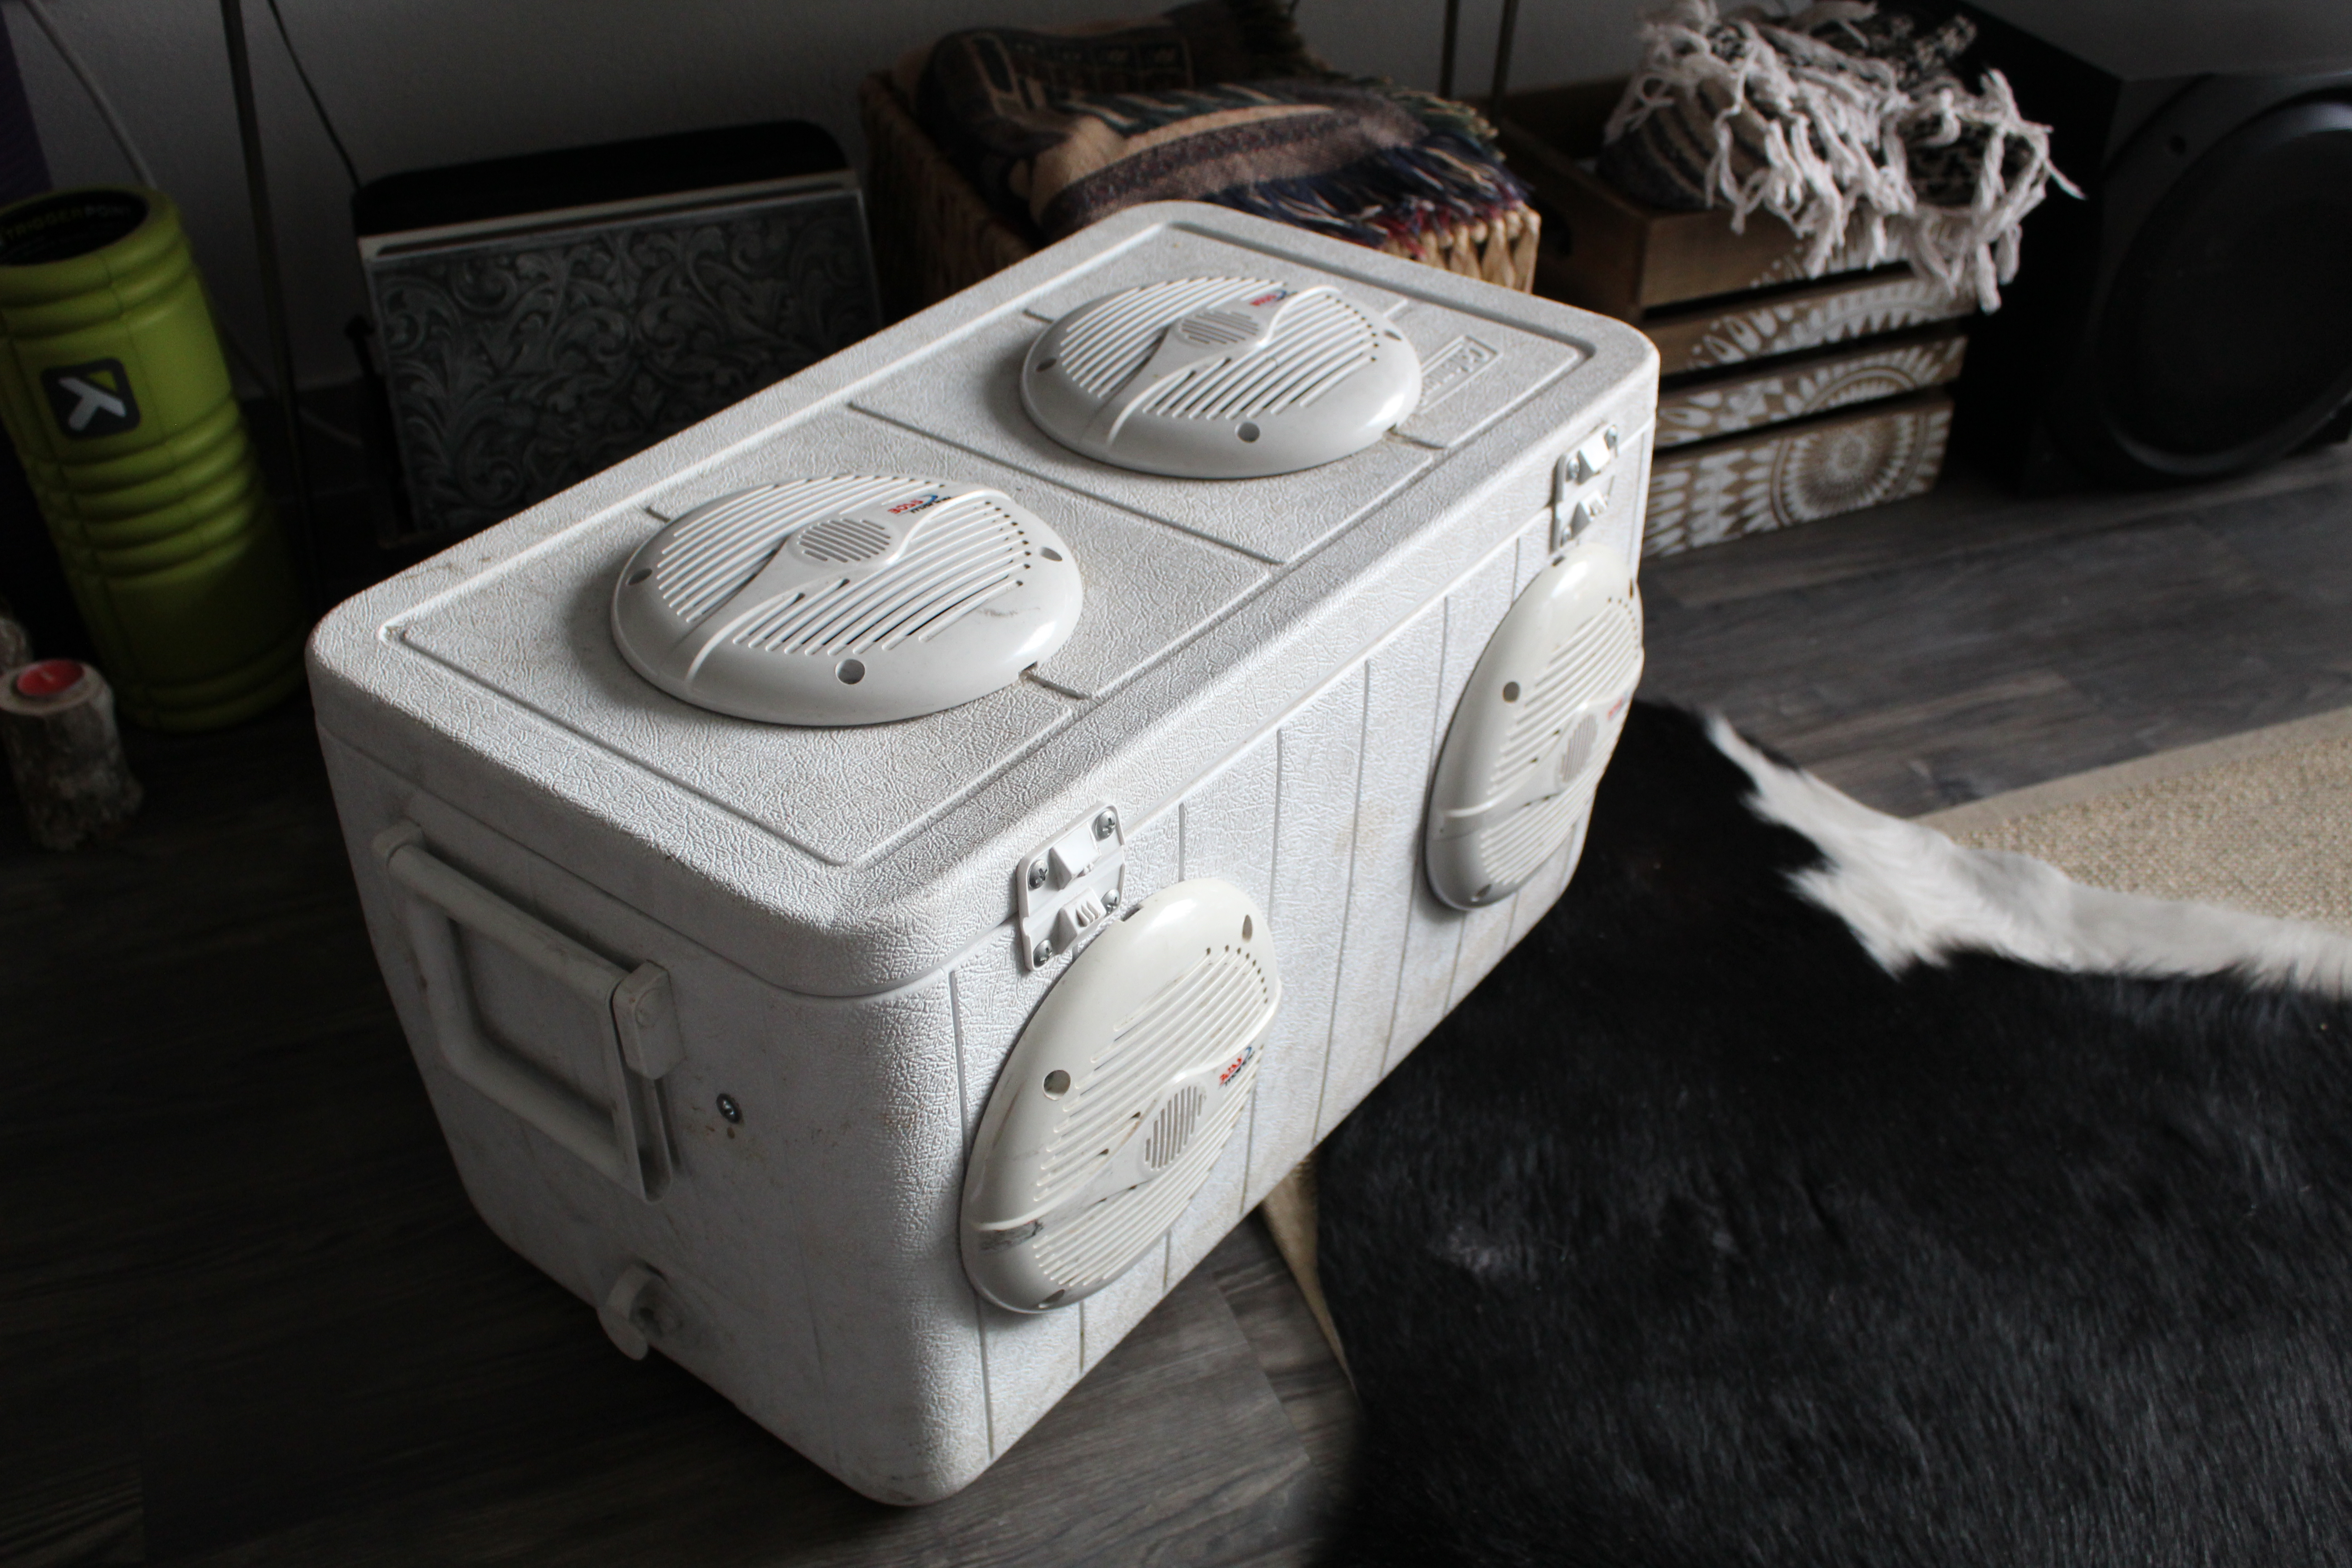
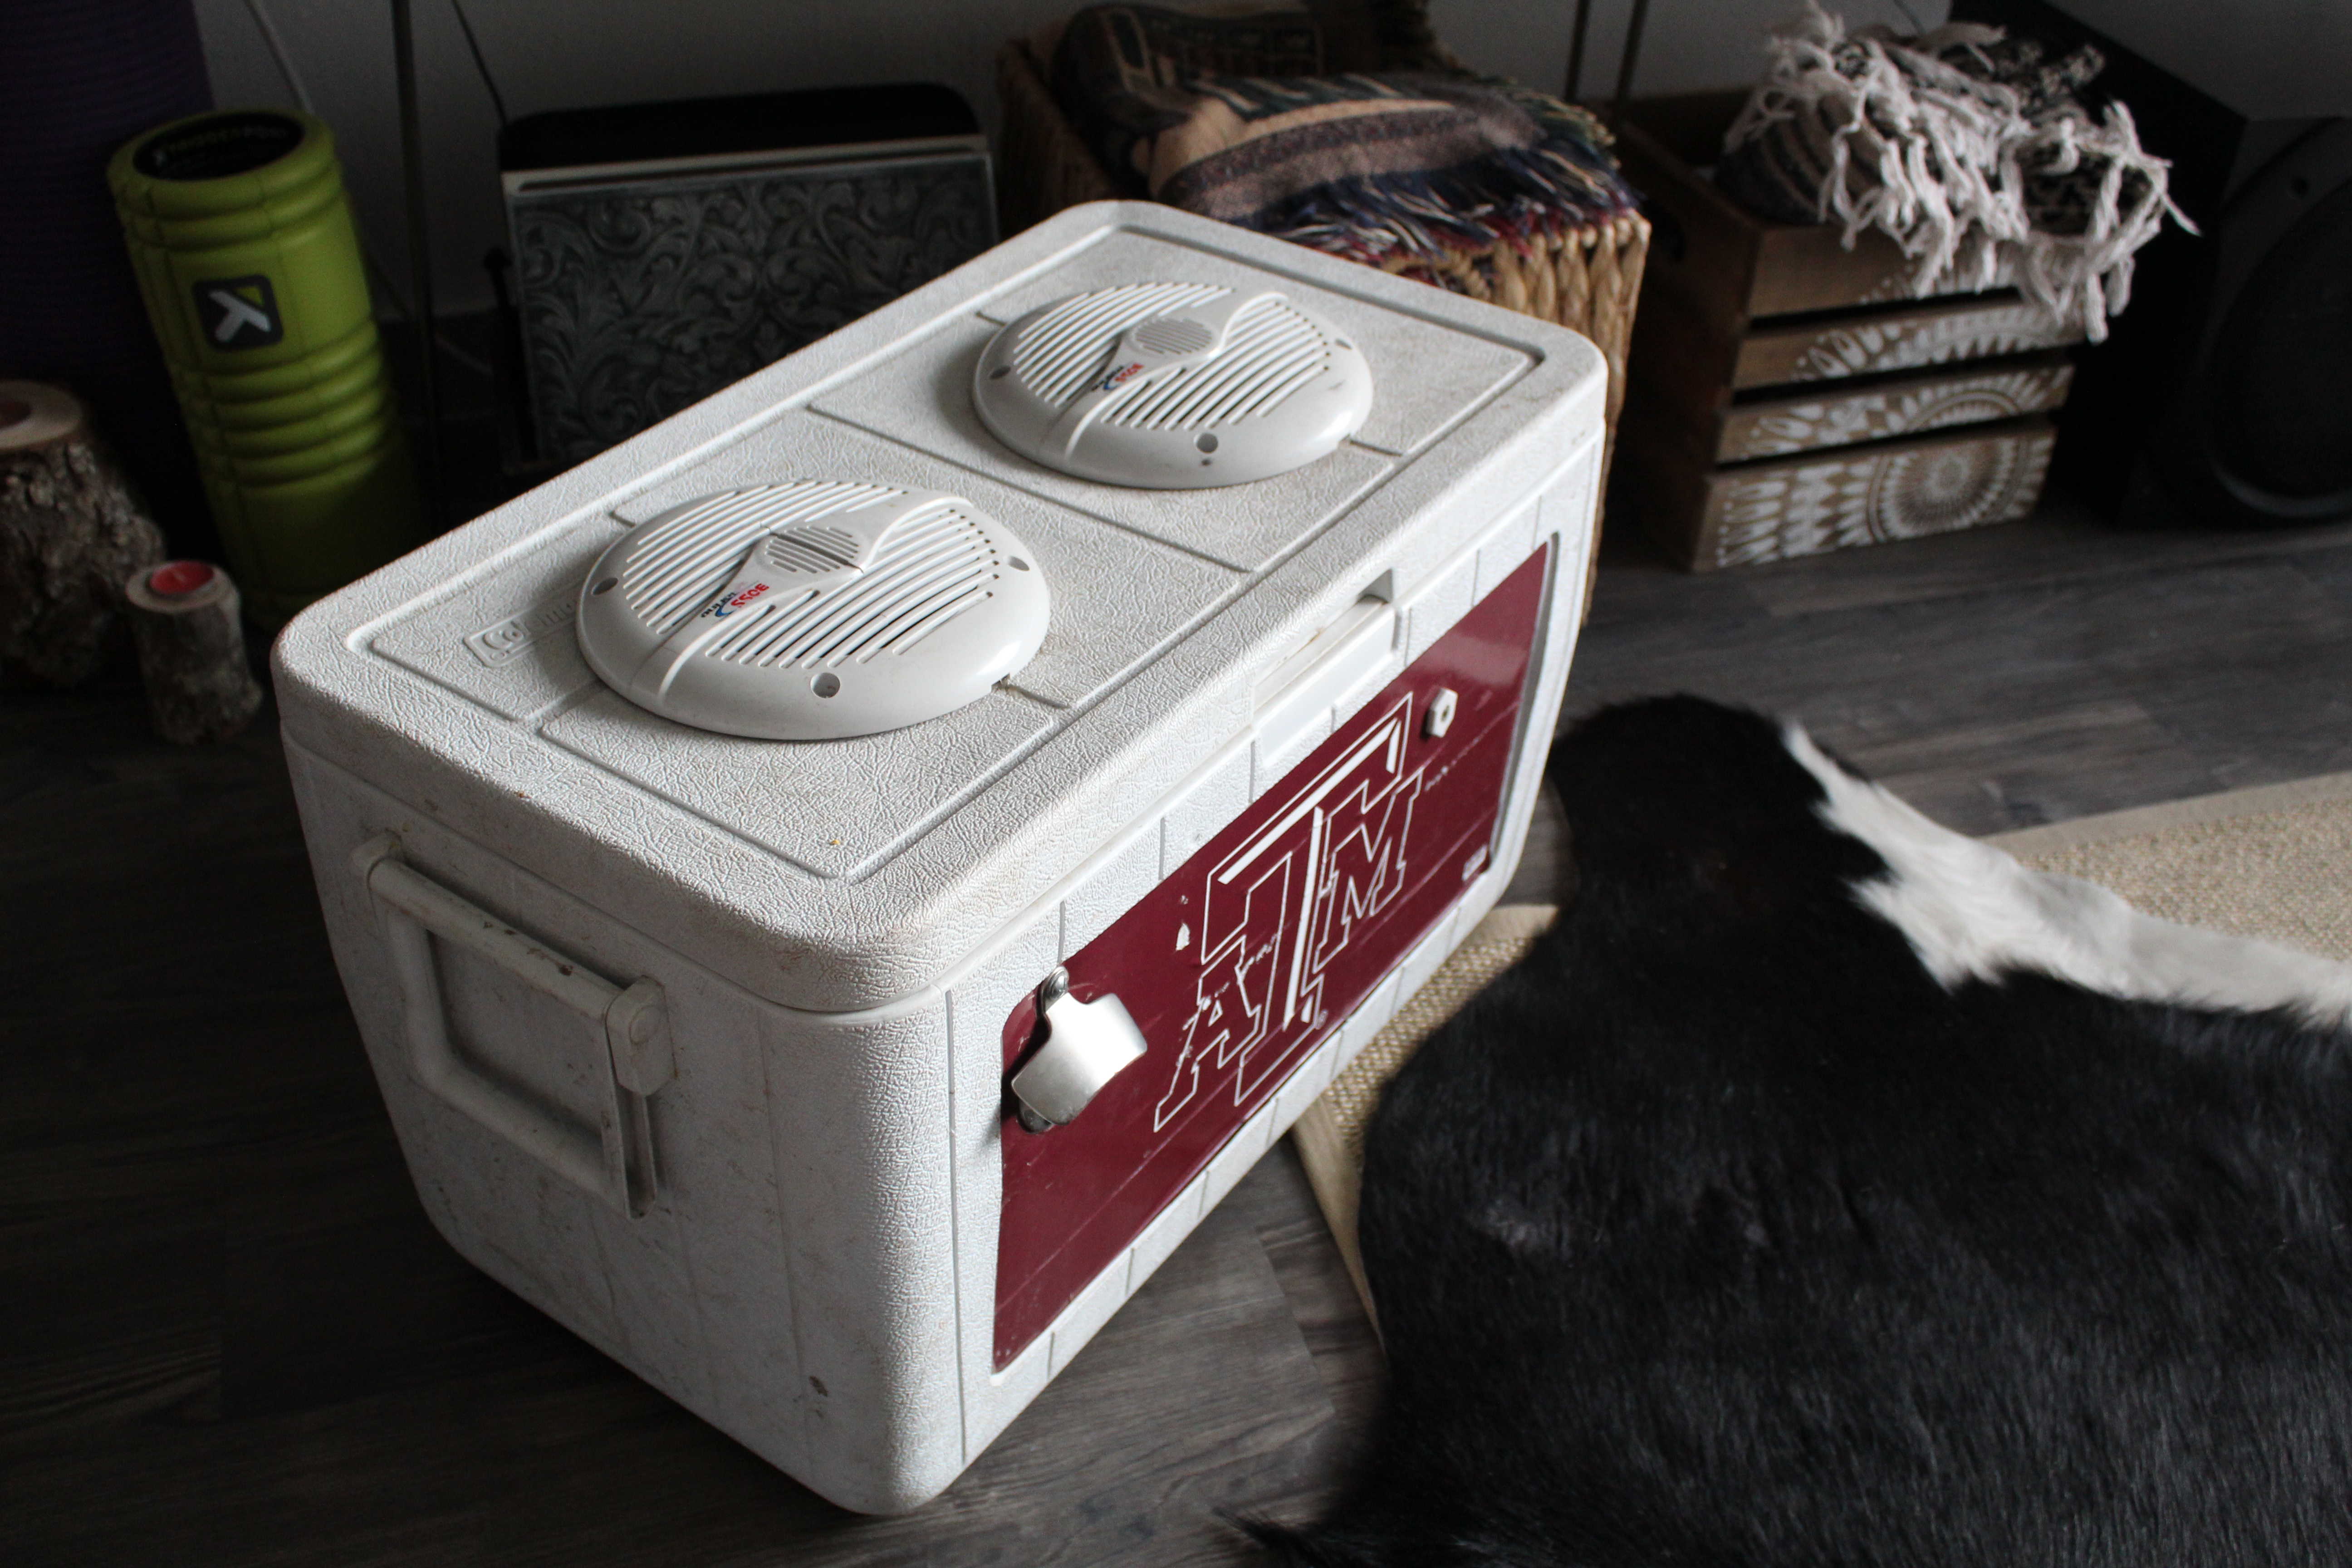
After having seen a few in the wild and having one crummy proof-of-concept build, I ordered parts for and built a brand new radio cooler in the fall of 2013. It started with two speakers and grew to four and has since been used hundreds of times between tailgates, beaches, and poolsides. It lasts longer, is way louder, and is much more hardy than a lot of store-bought speaker systems. I built mine to be as water resistant as possible; I used all marine audio equipment and tried to make decent seals around the speakers and lid. It can get rained on or be thrown into a river float and still provide powerful loud sound for tens of hours.
Components
My radio cooler is built from mostly inexpensive components and was constructed such that any component can be swapped out quite easily. For this build, I used:
- BOSS Audio MR60W 200 Watt Weatherproof Marine Speaker Pair - ($24.99 x 2) - I used 4. They are cheap, can by pumped with power, and have really taken a beating without deteriorating in quality. I’d recommend them for low to medium budget builds.
- Pyle Hydra Marine 400 Watt 4 Channel Audio Amplifier - ($43.55) - For the price, this thing is hard to beat. It can get loud enough to make the speakers vibrate the lid of the cooler with air movement. It’s powerful.
- Marine-grade deep cycle 12V battery ($40 - $200) of some sort. The greater the amp hour (Ah) rating of the battery, the longer it will last between recharges. Get one that fits your price range. I use a 101 Ah battery and it lasts for several multi-hour uses before needing any recharge.
- Coleman 48-Quart Cooler ($36.09) - I bought mine at Academy but Amazon has them too.
- 12V Trickle Battery Charger - ($16.98) - Inexpensive and better on your battery but expect long overnight charge times. A battery charged too quickly will have less total recharge cycles - a low current trickle charger optimizes for battery longevity.
- BOSS Audio 8 Gauge Amplifier Wiring Kit - ($14.99) - Inexpensive and has almost everything you need to wire it all up. You may end up needing special electrical connectors or battery terminal connectors.
- One 3.5mm to 2-Male RCA Adapter Cable ($5.99)
- One RCA Female to 2 RCA Male Splitter Adapter Pair ($5.69)
- Some type of toggle switch.
- Some bolts and wing nuts.
So all together it costs around $275 to build one of these give or take some depending on what kind of battery you use. You can also use any type of cooler that you feel comfortable mounting the amplifier and speakers in.
Construction


Putting one of these together is much easier than it looks. The battery essentially hooks straight to the amplifier and the amplifier straight to the speakers. After that, you just need to wire in a toggle switch from amplifier (+) to the amplifier toggle post. Plug in the RCA adapters in connecting the amp to your phone (or other aux/RCA output). Turn it on and start jamming!
A common question I get about this cooler is whether or not it can actually hold drinks. The answer for my build is no. In order to maintain low moisture inside the cooler, I try not to invite any liquids (except perhaps sunscreen) inside. It can become an issue if your cooler has a drain plug. Mine eventually failed and could no longer float in a river tube without being filled with water. It is worth mentioning however that my amplifier continued to work even with fully submerged power and speaker terminals.
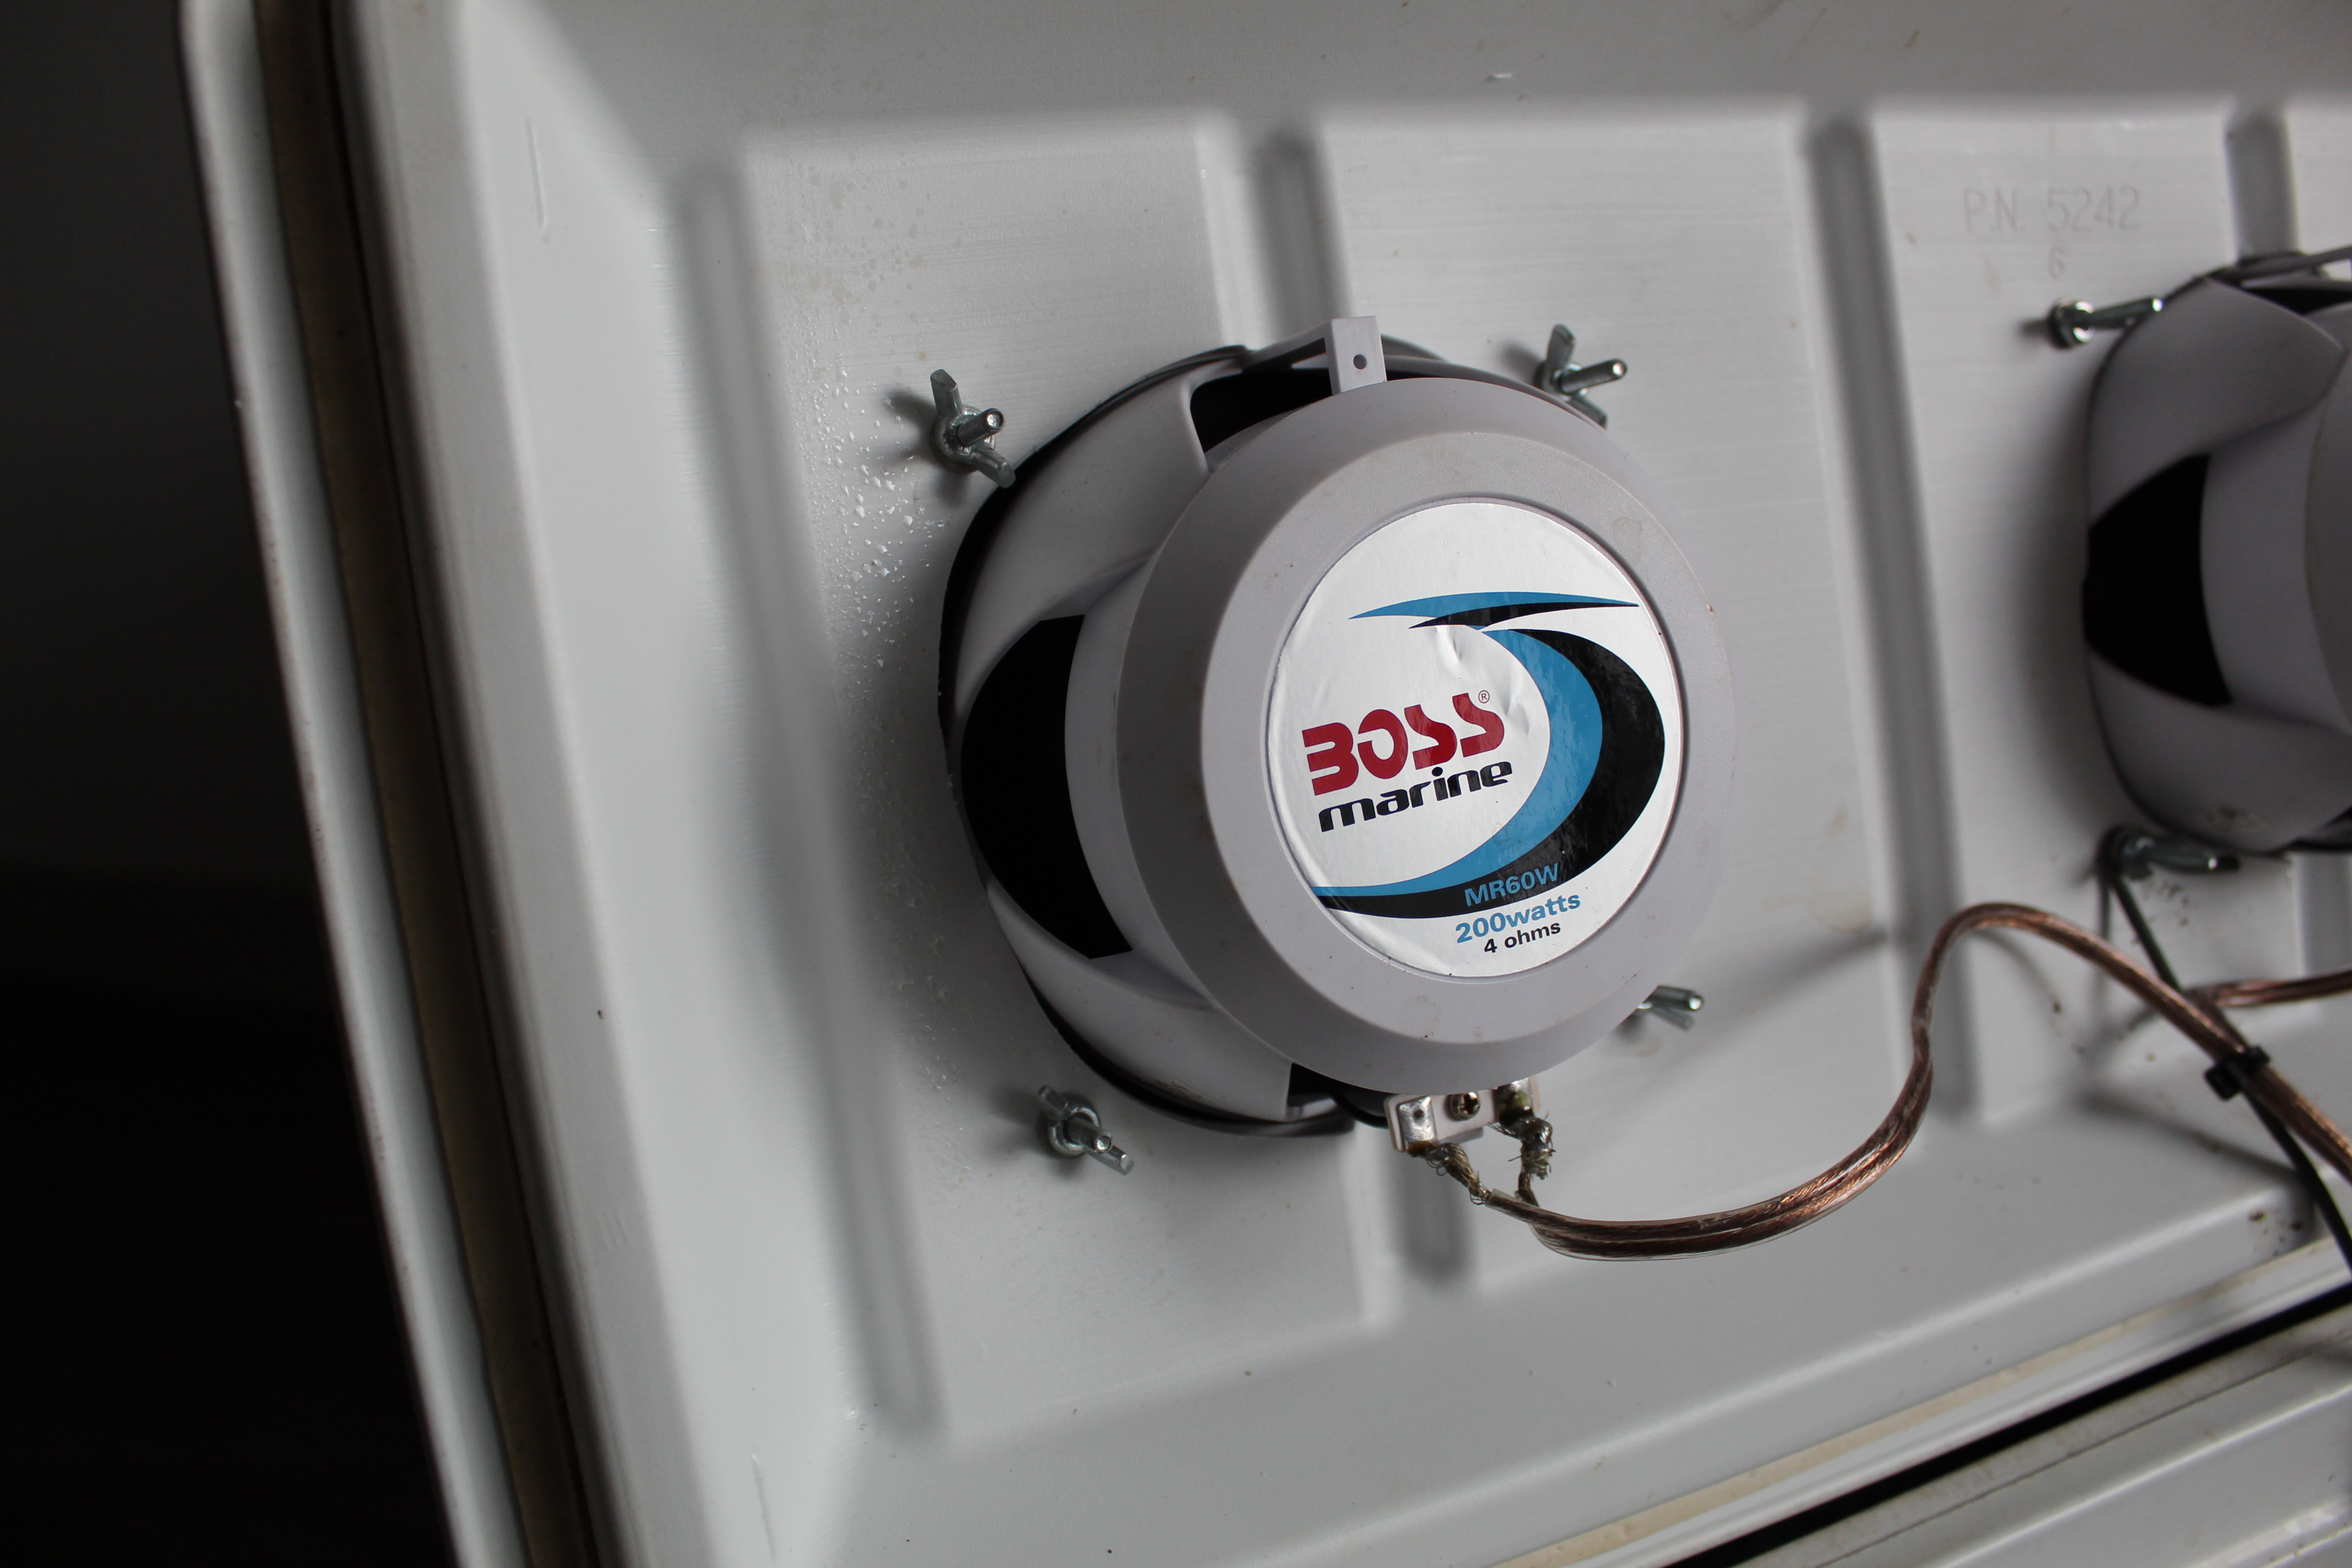

I measured and cut the holes in the cooler using a reciprocating saw. Speaker and amplifier components were mounted using bolts with wingnuts through pre-drilled holes. I soldered the wires to the speakers but this is not required. All amplifier connections are using terminal connectors and the battery rests on the bottom with small brackets preventing it from sliding. There is a fair bit of storage space inside.
Wiring
Below is a wiring diagram showing how where all the wires connect up with one another.